6. Building Tips
Warning
This document has been marked for deprecation. The information in the article may be outdated.
This is general tips on how to build certain styles of thingies. There will be pictures comparing real life to the built object in game. (just need to find the tips and add pictures)
6.1. General tips
Powered iron trapdoor can be made using WorldEdit. First you place an iron trapdoor, and then you power it. Then you select it, and do //copy and //paste it to where you want it. This way you can create cool smaller barriers:
|
|
6.3. Custom heads
Minecraft player heads can be used to add details to builds.
You can find thousands of heads in the Minecraft Head Gallery or Gallery2
Copy the version 1.12.2 command from the gallery.
Give yourself a command block:
/give [name] command_block [amount]or/i commandblock on some servers.Paste the command from the gallery into the command block(You might also have to change minecraft:banner to banner in the command).
Give a redstone signal to the command block (e.g. with a button or lever).
Custom heads can be places on the side and on top of blocks (see picture).
A good idea is to spawn in a stack of them, and then just adding them to a chest for easy access, so you can avoid using the command block over and over again.
See also List of useful Minecraft heads and banners
6.4. Custom banners

Custom banners are used almost in the same way as custom heads. Find the design you like on Minecraft Tools.
Find the banner you like, and click on it. Scroll down to the command line, and click Display old versions commands.
Give yourself a command block:
/give [name] command_block [amount]or/i commandblockon some serversPaste the command from the gallery into the command block.
Give a redstone signal to the command block (e.g. with a button or lever).
You are ready to place!
A good idea is to spawn in a stack of them, and then just adding them to a chest for easy access, so you can avoid using the command block over and over again.
See also List of useful Minecraft heads and banners
6.5. Other blocks only spawnable with commandblock or WorldEdit
Mushroom blocks ID 99:11+ 99:15
Use 99:11 + 99:15 in WorldEdit as block id:
/give @p command_block 1 0 {BlockEntityTag:{Command:"setblock ~ ~ ~ brown_mushroom_block 11",auto:1b}}

/give @p command_block 1 0 {BlockEntityTag:{Command:"setblock ~ ~ ~ brown_mushroom_block 15",auto:1b}}
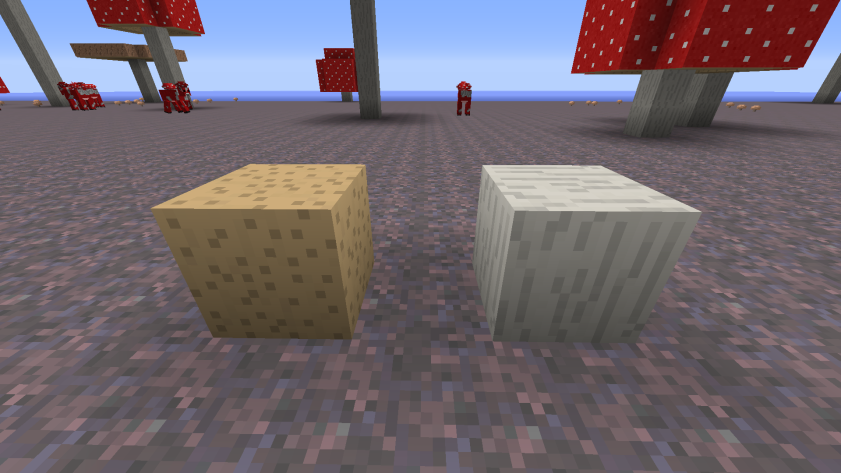
Smooth sandstone Use 43:9 in WorldEdit as block id
Spawn the block in with the command: /give @p command_block 1 0 {BlockEntityTag:{Command:"setblock ~ ~ ~ double_stone_slab 9",auto:1b}}
This will give you a command block in your inventory with the correct command set in, so all you have to do is place it where you want it to be.
Smooth double stone slab
Use 43:8 in WorldEdit as block id
Spawn the block in with the command: /give @p command_block 1 0 {BlockEntityTag:{Command:"setblock ~ ~ ~ double_stone_slab 8",auto:1b}}
This will give you a command block in your inventory with the correct command set in, so all you have to do is place it where you want it to be.
Structure blocks
Structure blocks are a different type of blocks that not a lot of people know exists. Getting the first type of block is easy, getting the rest requires a bit more work.
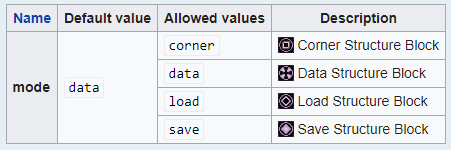
You can spawn in the data block with commands or WorldEdit
/give [your name] structure_block 1in WorldEdit the ID is structure_block
In order to get the other blocks, you have to first place down the first data structure block. Then you click on it, and click the data button. This will change the block to a save block. Clicking the save button at the bottom left, will change it into a corner block. Clicking the corner button, will change it back to a data block.
Once you have the block you want, you have to manually
//copyand//pastethe block to wherever you want it. There might be a faster way, but i have no found it yet. Feel free to add it in the suggestion form on the top.
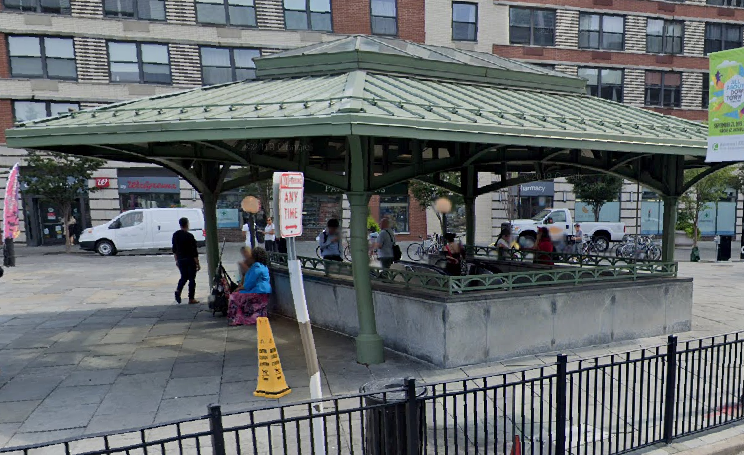
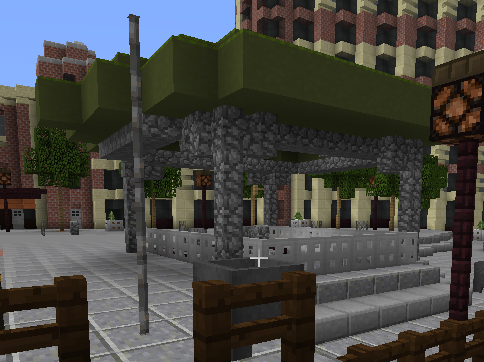
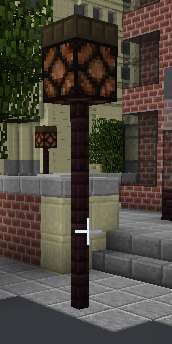
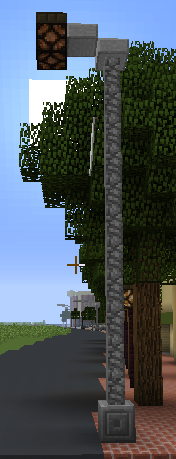
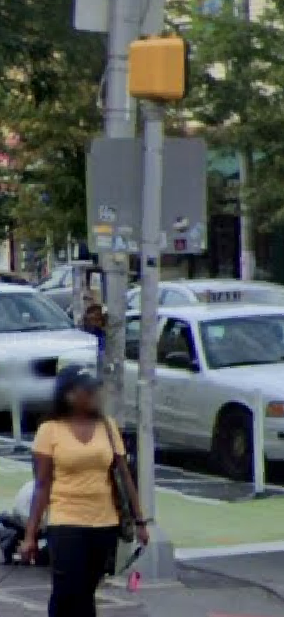
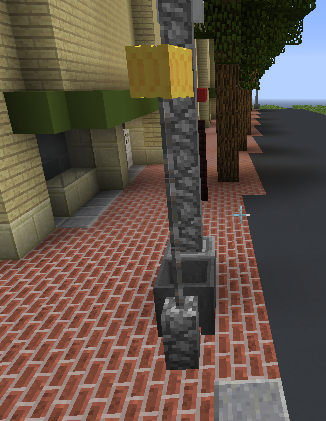
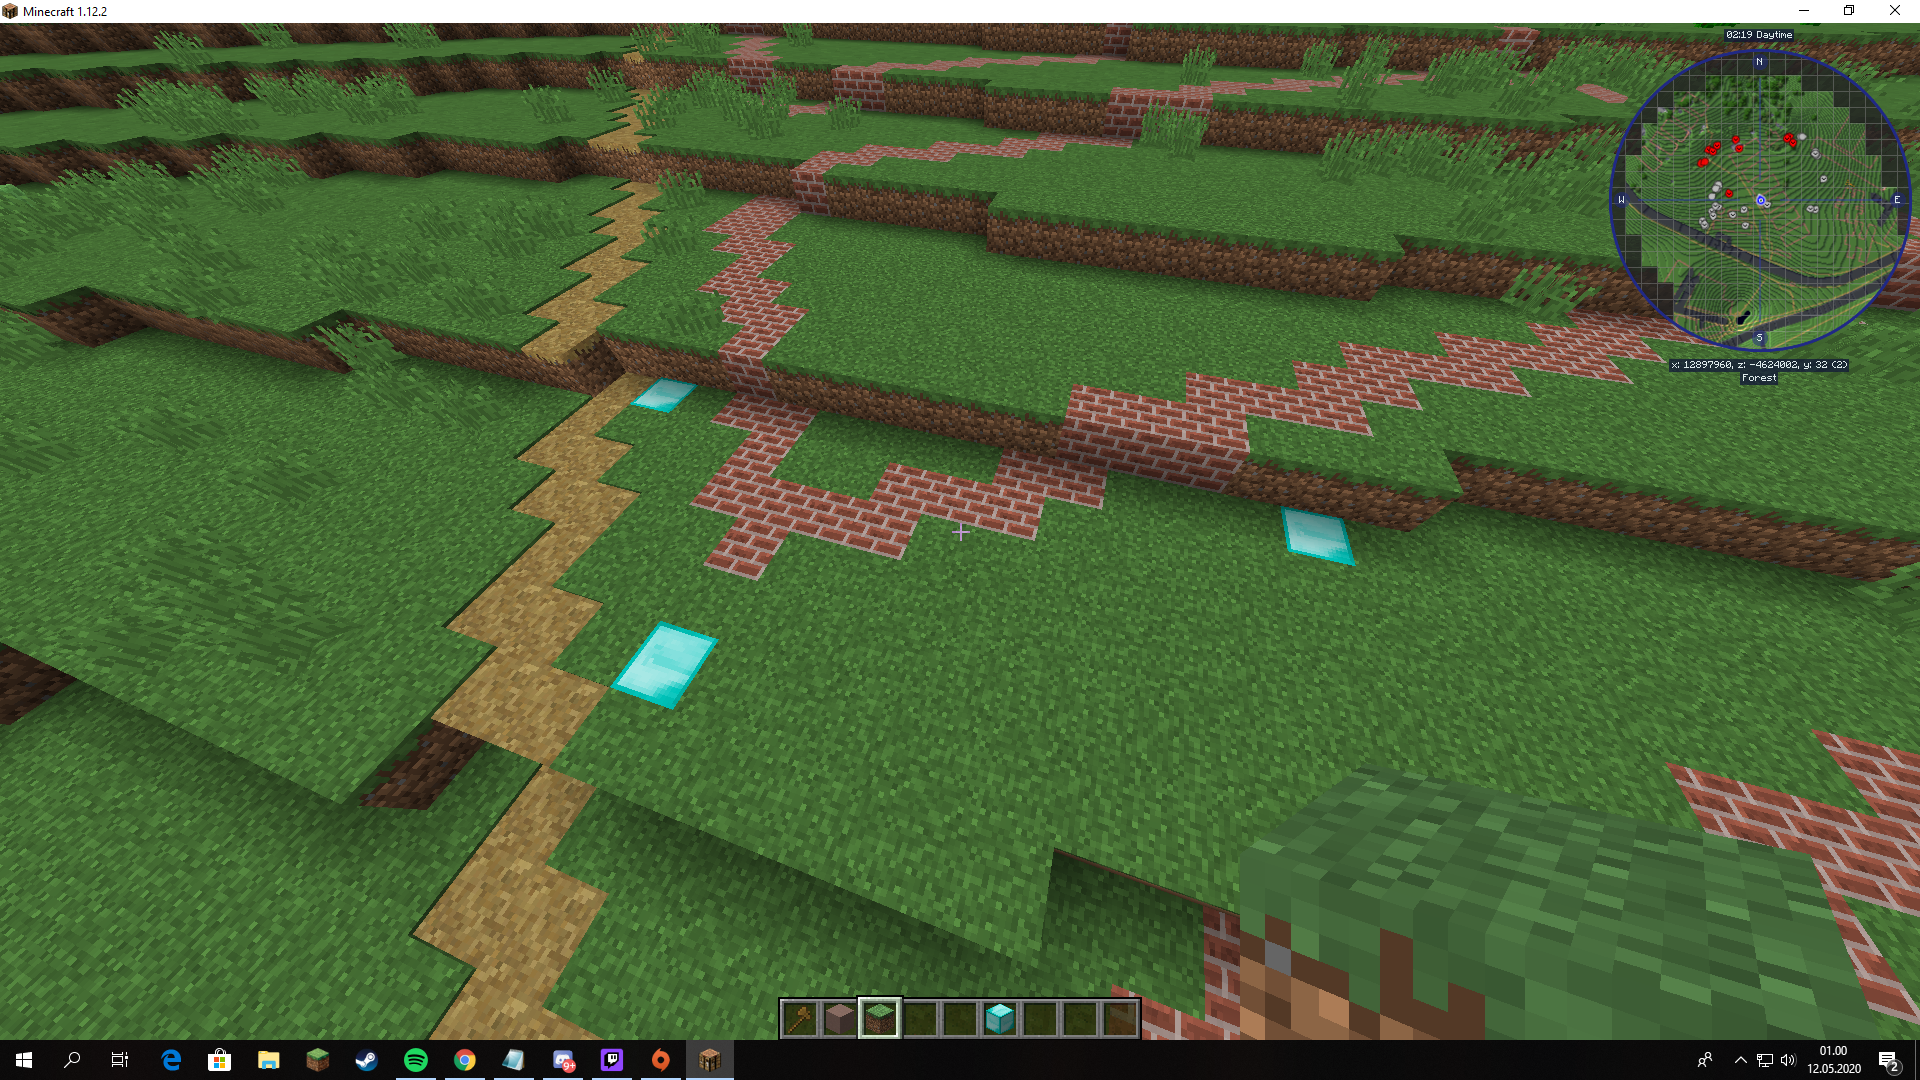
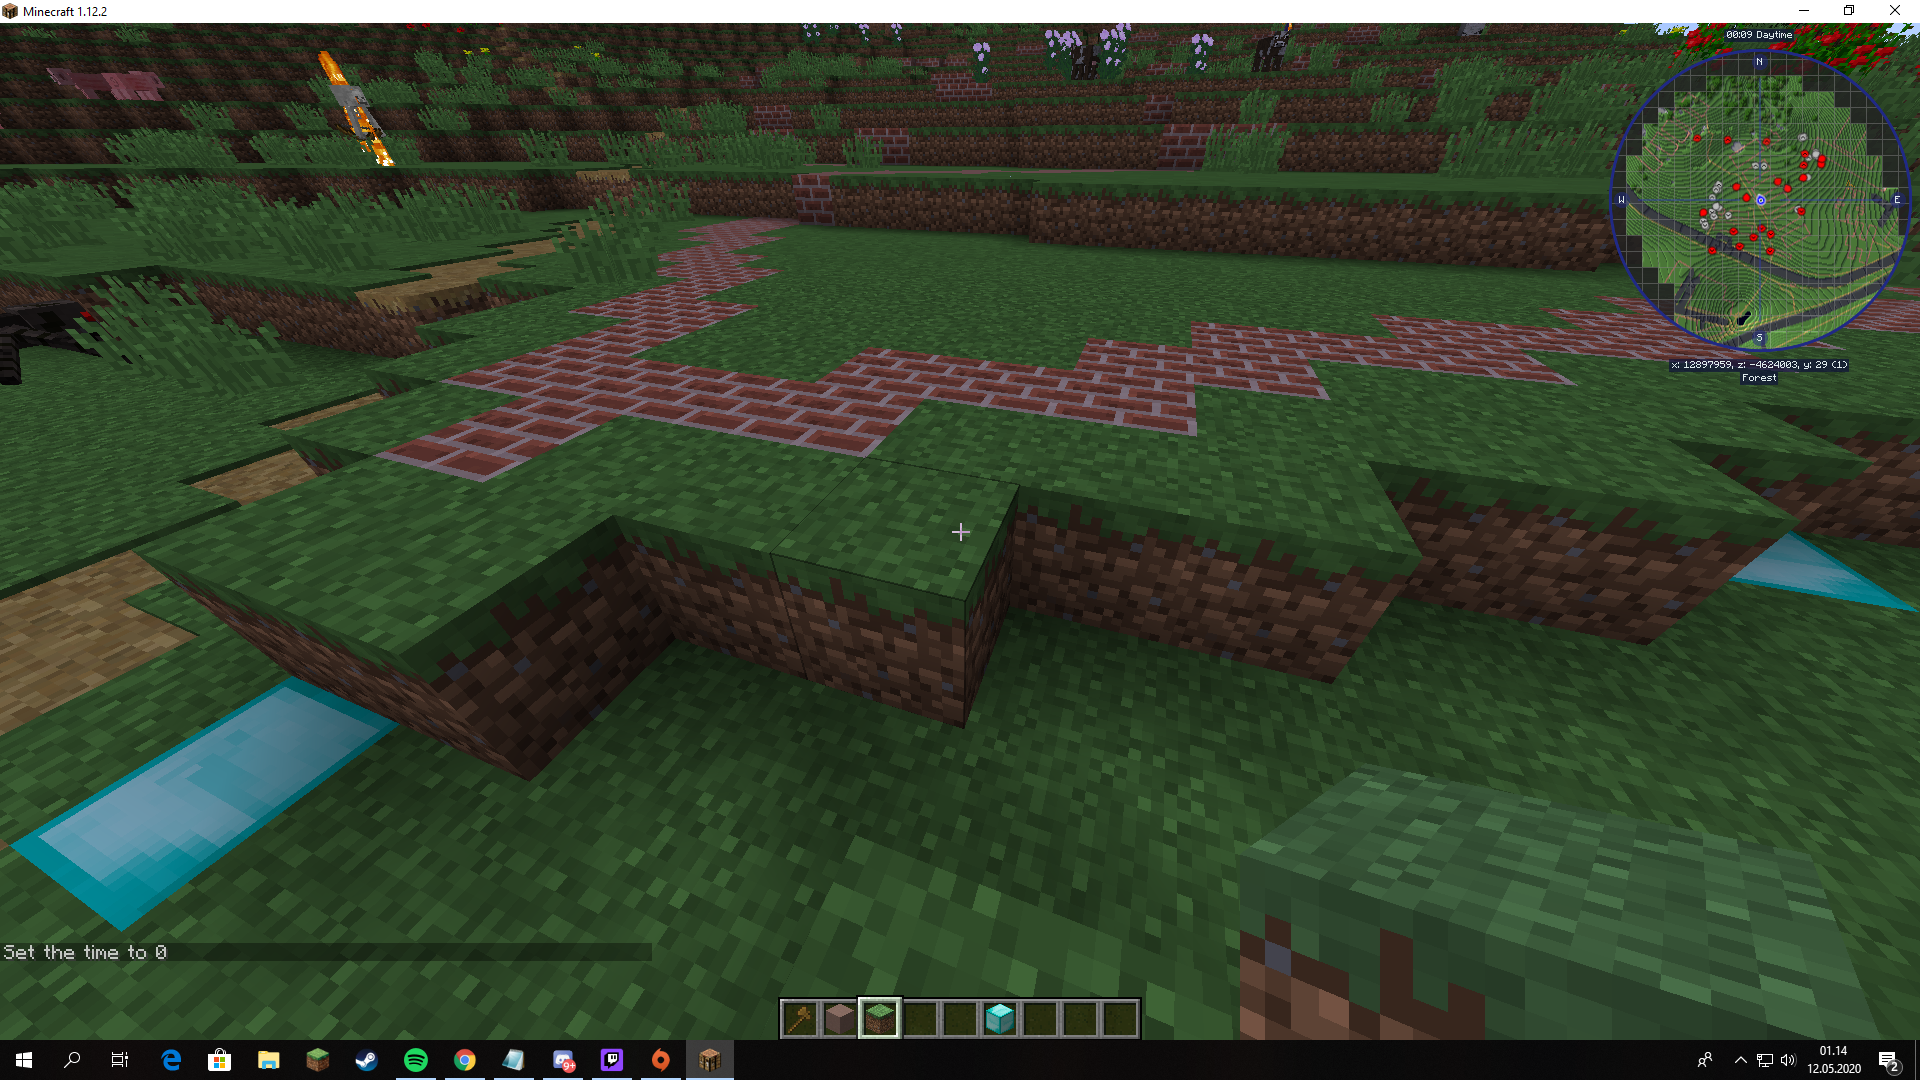
6.7. Building detail [c] [d] [e] [f]
|
|
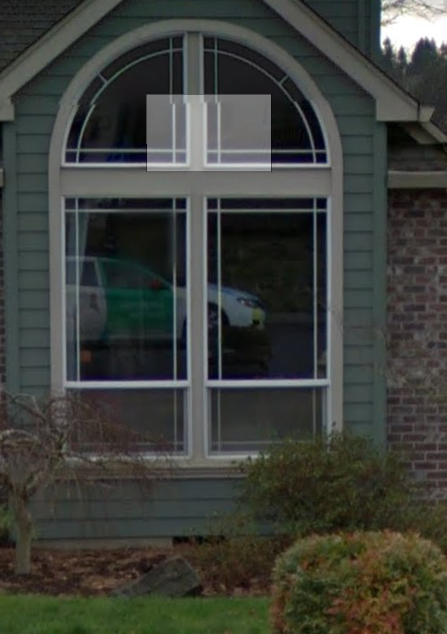
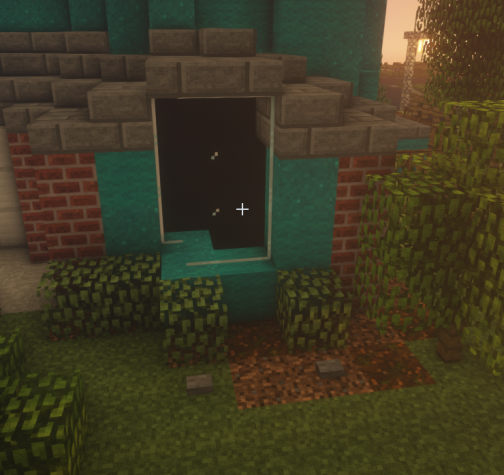
Glass panes are the simplest way to make nice looking windows. It is impossible to get it correctly to scale, so try to get it as close as possible, as done here. |
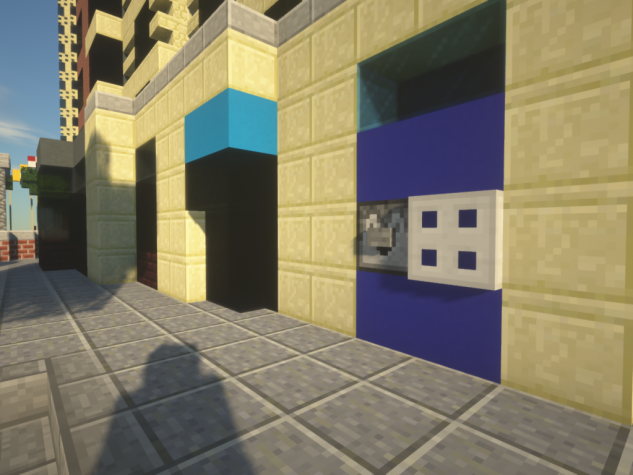
ATM |
||

|
|
A neat looking ATM with a dropper and button in front, with a powered iron trapdoor on the side |
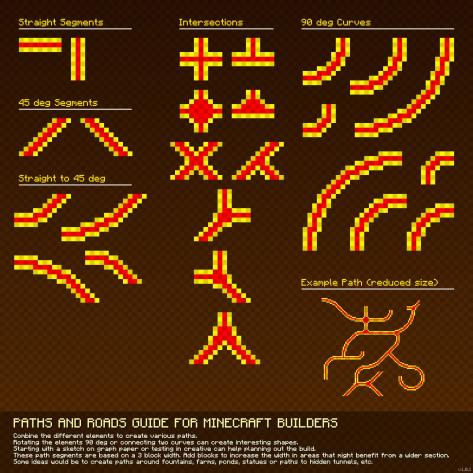
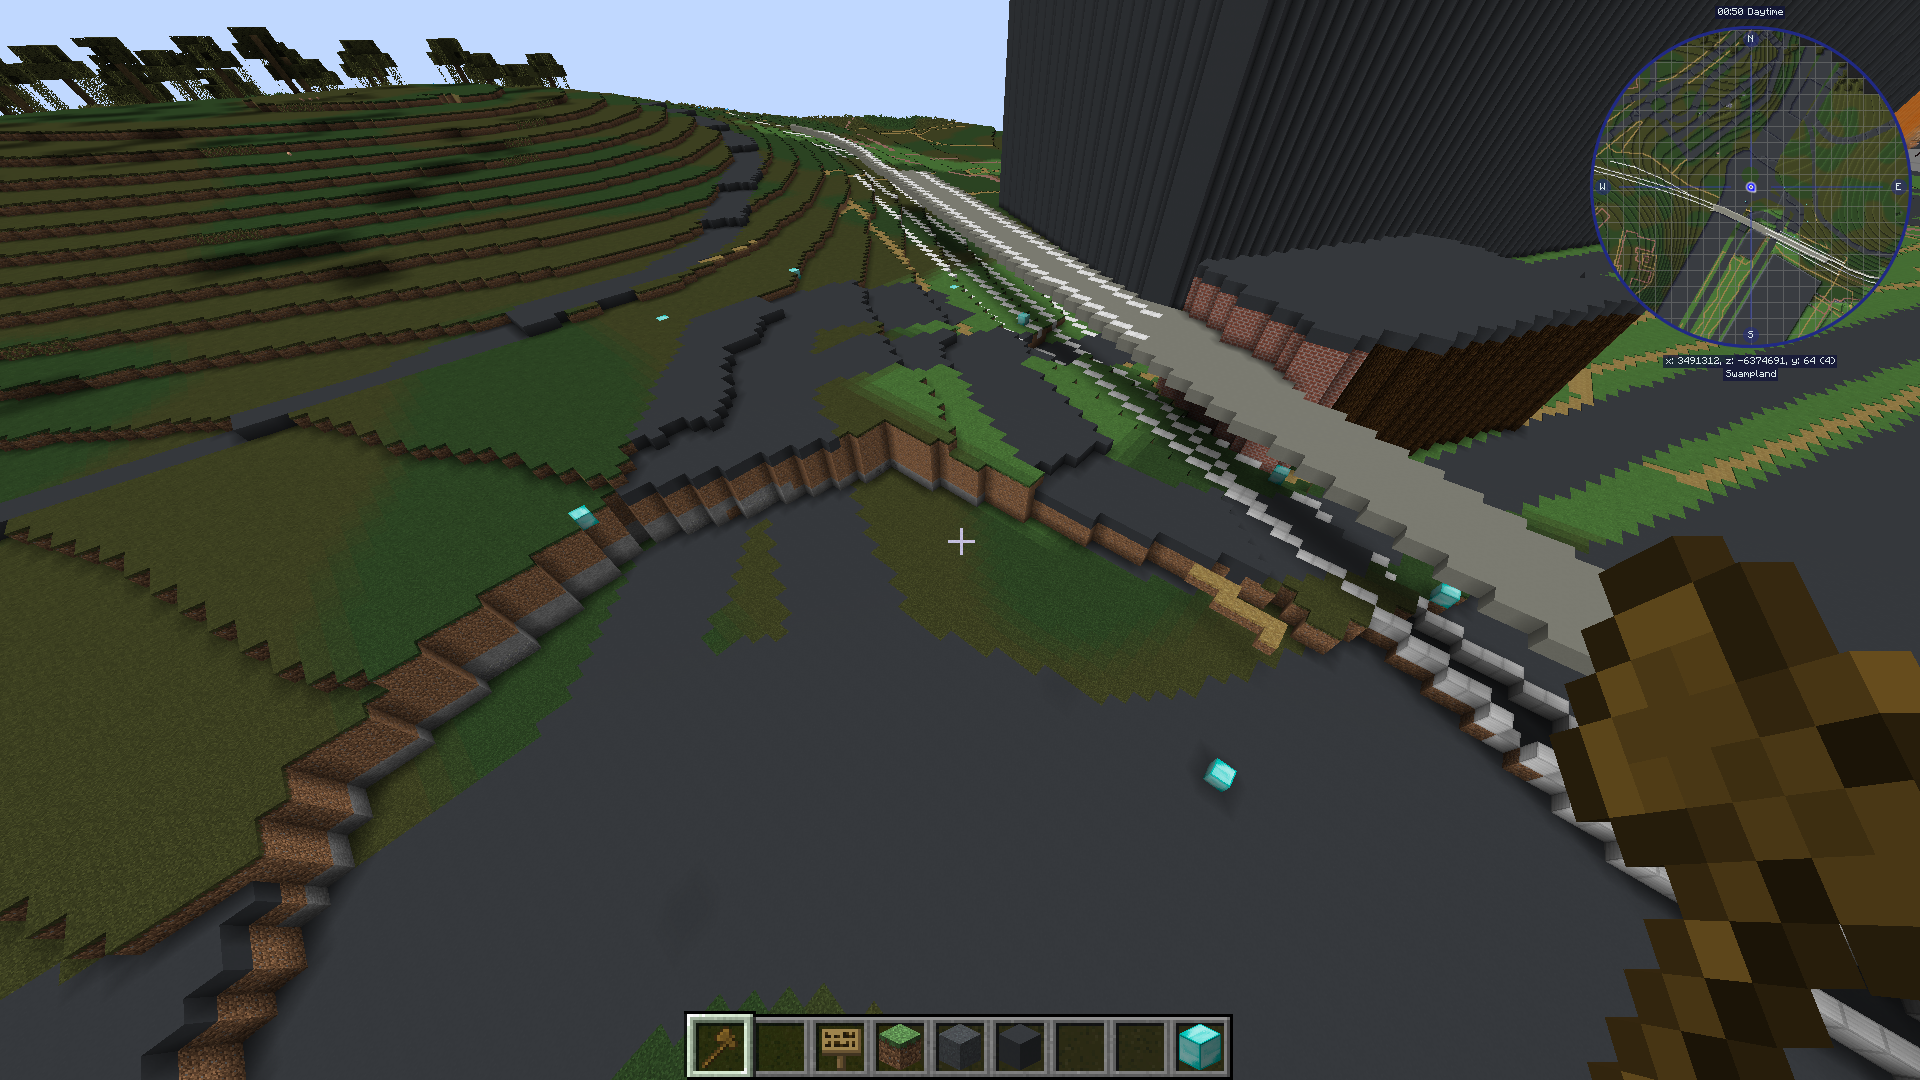
6.8. Streets, Roads and Paths


6.9. Rail lines
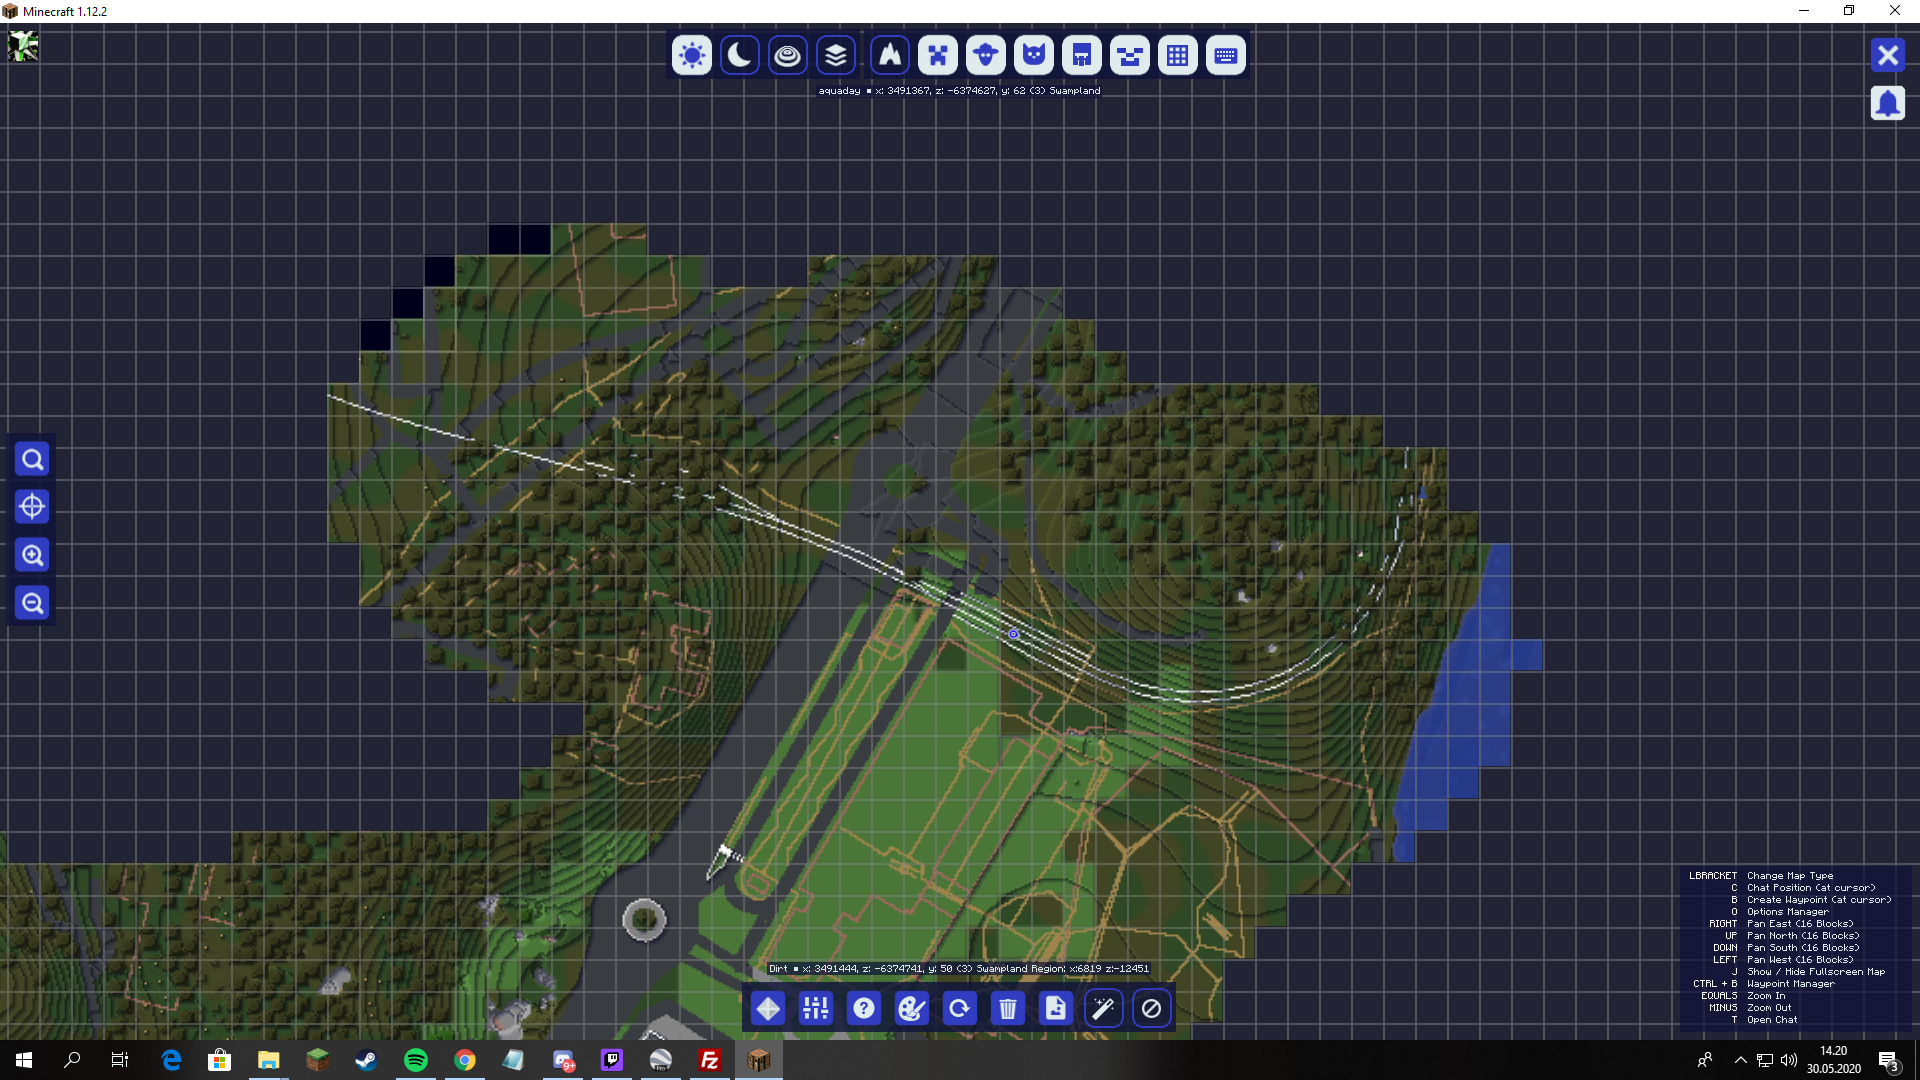
Oganexon#2001 has created a mod for BTE called BTE Tools, that gives some cool additional commands for the creation of rail lines.
You can follow the download and install setup on the the download page. This mod only has to be installed on the server, or on the client if you are playing single player.
After you have installed the mod, you can run the commands in the world, and you will get these cool lines for where the railroads are.
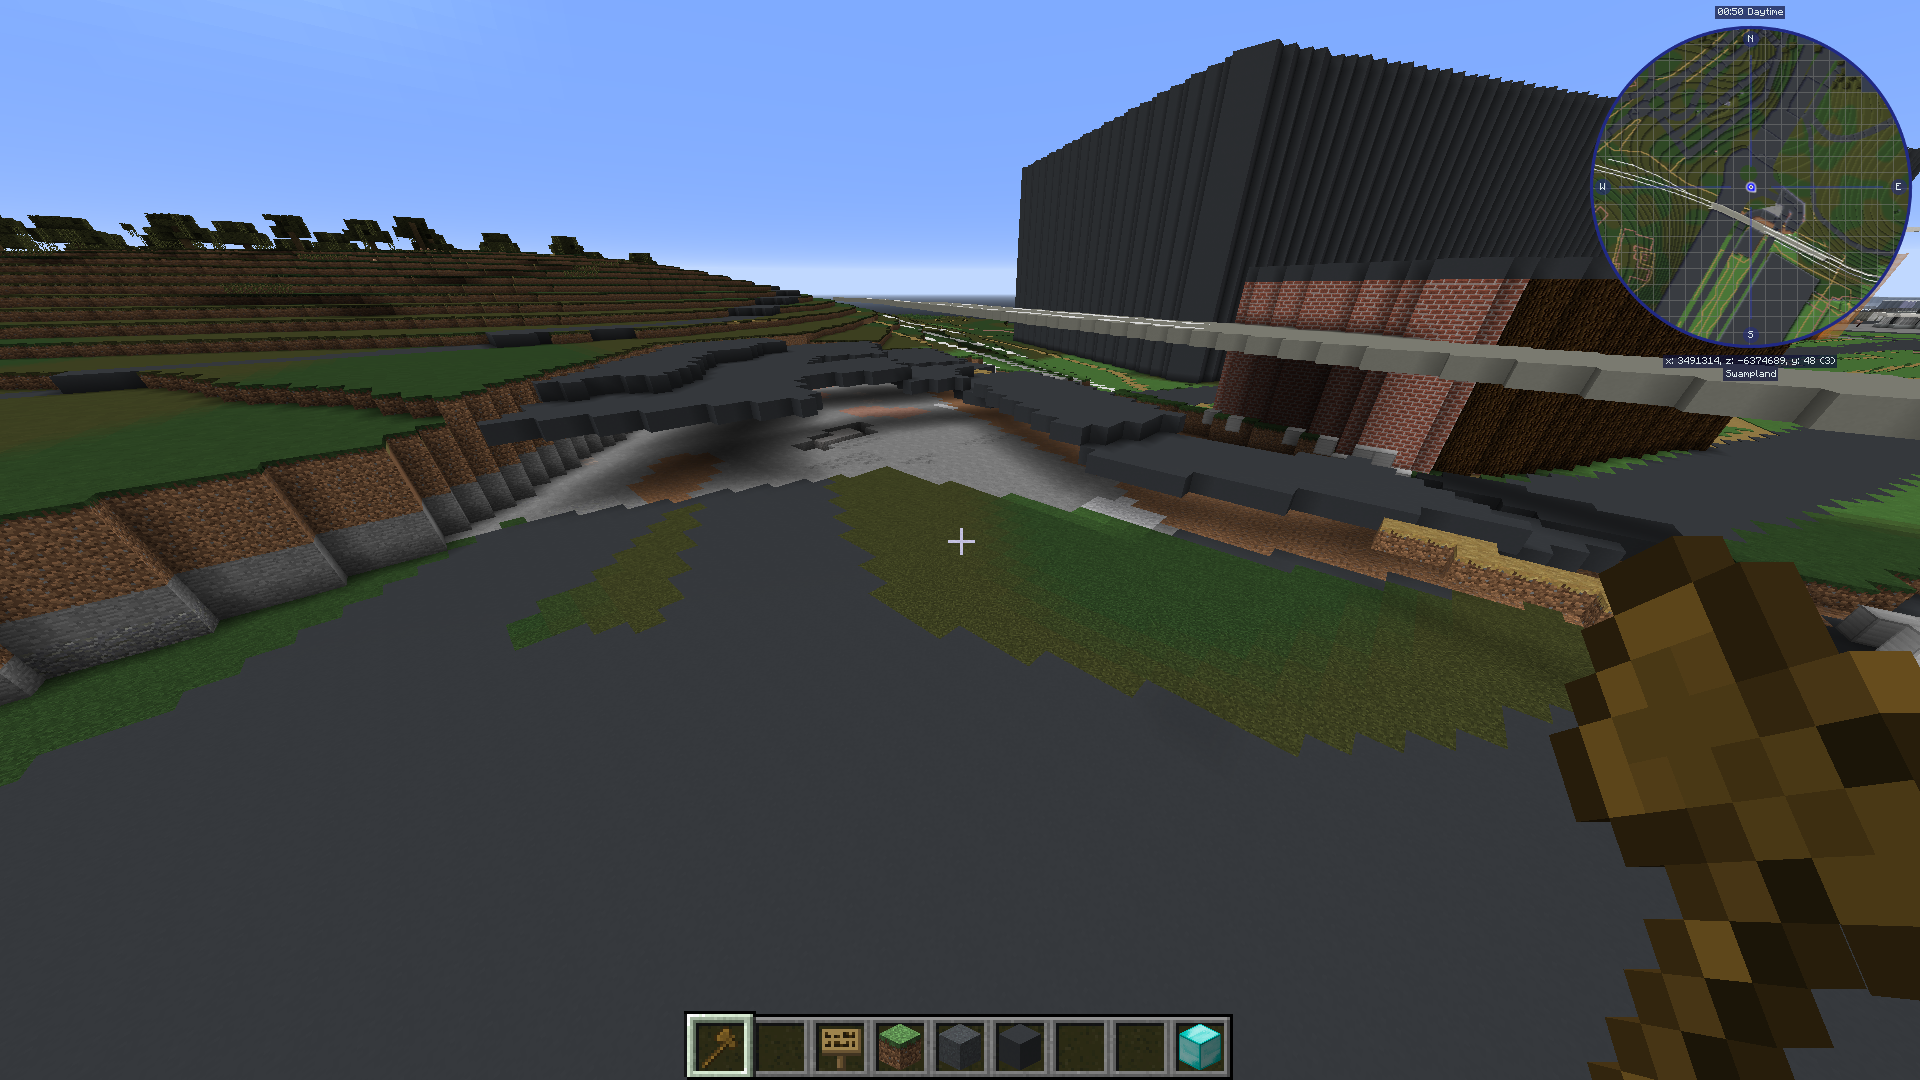
6.10. Terraforming
6.10.1. How to lower or raise
|
|
This will copy all the blocks that are part of the generation, paths, grass, bricks and roads. |

|
|
|
6.10.2. How to lower bigger areas
You can do this on any size you want, I’ve done a smaller area to better show the details. Try not to choose an area too big, as that can cause massive lags and server timeouts. Thanks to mcnoided#4059 for this great tip
If you are doing a terrain with different terrain levels, you will have to use Google Earth to mark where the elevation changes and connect each layers points with ``//curve`` in ``//sel convex`` or ``//line`` in the default ``//sel cuboid``, and then fill in the missing terrain with ``//fill``. |
|
//replace 251:7 252:7
//replace 45 14
//replace 208 12
|
|
//replace <252:7 251:7
//replace <14 45
//replace <14 5
You have to temporarily have your path blocks as another block, or else the sand will turn the path blocks into dirt. I have used planks here. |
|
|
|
|

|
6.10.3. How to make rivers
Credit to mcnoided#4059 for this tip.
Use Google Earth to mark points of the walls and connect the points with
//curvein//sel convexfor the curved parts and//linein the default//sel cuboidfor the straight partsClose them off at a reasonable length, I suggest doing about 500 meters at a time
Do
//fill 20 300to create a layer of glassSelect the entire foundation with
//sel poly, and use//stack [amount] down -ato stack the foundation down to the depth you want.//expand [amount] downso that the selection covers at least all the way to the bottom, and then//replace 20 8to replace all the glass blocks to water source blocks.
If there is water covering up your location, you can change the water using
//replacecommands or//maskcommands.Some buildings can be mistaken for hills, so that the terrain generation makes a giant hill as well as the building outlines. You can check the elevation using google earth pro. If you hover over the location you want to see the elevation to, you can see the number on the bottom of the page, on the black line with all the numbers.
To cover up a cave, select the corners of the caves using
//wand(either with//sel polyor normal wand) and do//replace air grass. This will change all air blocks to grass blocks.To remove nearby trees, you can do
//replacenear 100 log,18,106 0. This will remove all logs, leaves and vines in a 100 block radius.
6.11. Nature
6.11.1. Leave block IDs that do not decay
18:418:518:618:7261:4261:5.6.11.2. Creating a forest with custom trees
Planting a bunch of trees have never been easier! A video tutorial on how to use it is found here at 4:45. The idea is to create a brush with a tree clipboard on it.
At first you have to build the tree you want to place everywhere. This can either be done on the ground or in the air.
Then you select the entire area of the tree with your wand, move up to right in front of the tree center on the ground, and do
//copy [block id]So if you use a regular tree, you do//copy 17,18You can add more ids by separating it with a comma.Select a tool from the creative inventory, and hold it in your hand. This can be any tool, for example a golden axe, or a wooden hoe. Do
//br clipboard -a -pYou might get an error message that says “Maximum brush size radius (in configuration): 6” Here is a guide on how to fix that.
At this point your brush is ready! Right click with your tool out to place a tree. To get the best effect, it’s better to have several different tree shapes binded to different tools.
6.11.3. Controlling the the length of vines
To avoid having vines grow longer than you want, you can add barrier blocks to stop the growing. An alternative is string, but barrier blocks are completely invisible.
Use /give [your name] barrier 64 to add barrier blocks to your inventory.
6.12. Building shells and outlines
PippenFTS has made a video on this! The tutorial part starts at 2:16, but look through the entire video before you start to build the building. If you wish for a detailed explanation on this to be added here, please message @Aquaday#6574 on the discord server.
We have a list of useful outline commands and tips on this link. Show you how to fast and easy build up walls, either same blocks or different, and also shows you how to work with skyscrapers
Non-straight Building outlines tutorial This is a way to make outlines in a non straight building.
6.13. BTE Normalization
Some community members have come together to develop standardized blueprints for common objects in the world. Check out their github page: BTE-Normalization github to get ideas about how to build some common things like trains, planes, parking lots. This project is a work in progress and will grow overtime.
Footnotes
- c
i might want to move this down to the bottom, as it is going to be filled up with examples
- d
I agree, we could try to compess some of the examples by putting them next to each other.
- e
Yeah but we also dont want it too small as it would make it harder to actually see what they have done. You can easily zoom in on mobile, but its a bit different on computer, and you also can not open the image in a new window for some reason.
- f
That is true.
Depending on how many examples we collect it might even be worth thinking about a second document dedicated just to example comparisons. At the moment that would maybe be unessecary but in the long run we might collect thousands of comparison examples.
Personally, I imagine myself looking at the example comparisons a lot more often than the rest of the guidebook so you could say that the two things are rather distinct from each other. Having them in two different documents might therefore even be easier to use for the builders.
But I guess we have to see how it develops